Product line: AP Model: W6
This article will guide you setting W6 with the steps as below.
Part 2: Configure your computer
Part 3: Common Settings

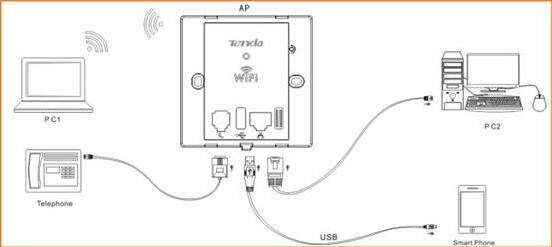
Power on the AP, and connect your PC to one of the LAN ports by a cable, as the following illustration;

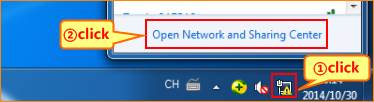
1. Right click on Network Connection Icon on the system bar, then click on Open Network and Sharing Center.
2. Click on Change adapter settings.

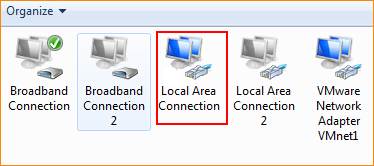
3. Right click on Local Area Connection, then choose the Properties option.
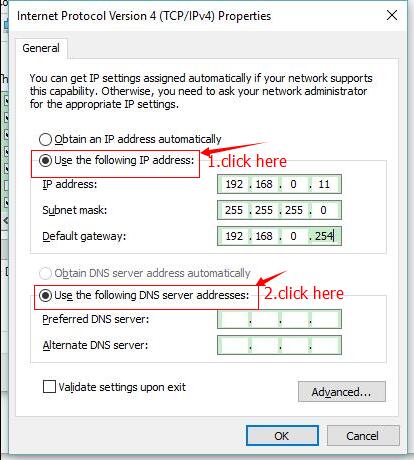
4. Double click on Internet Protocol Version 4(TCP/IPv4).

5. Choose Use the following IP address and Use the following DNS server addresses and then Set a static IP for local area connection within the following range: 192.168.0.X( 1-253),and with the subnet mask: 255.255.255.0 and Default gateway with 192.168.0.254;
6. Also click on OK on the first Local Connection Properties window.

3.1 login the AP setting page:
Launch IE browser, input 192.168.0.254 in the address bar and press Enter;

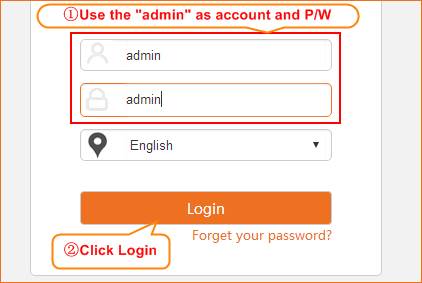
Type in the default username and password( admin for both) and click Login;
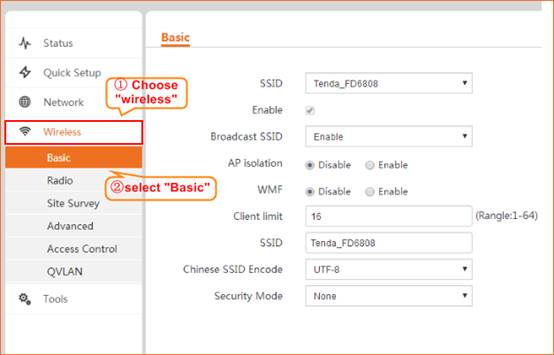
3.2 Setting the SSID and password:
Click wireless sub menu and select “basic”
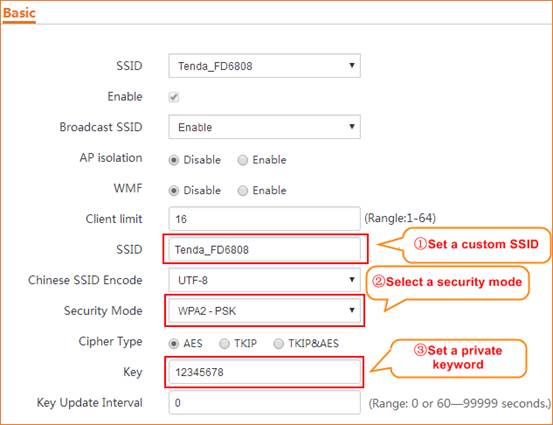
Set a custom SSID and fill the new password in “key” blank
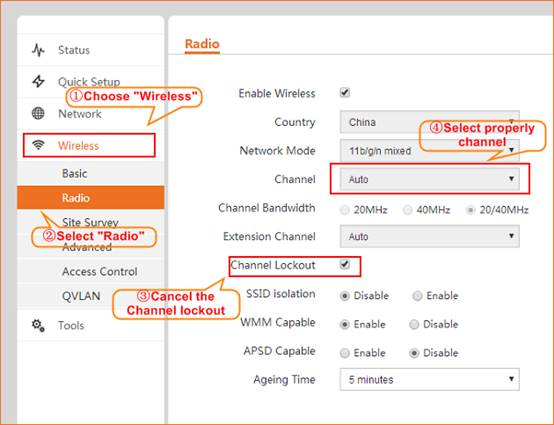
3.3 change the device’s radio channel:
Select the “Radio” and uncheck the “Channel lockout”, then select a properly channel which suits your region.
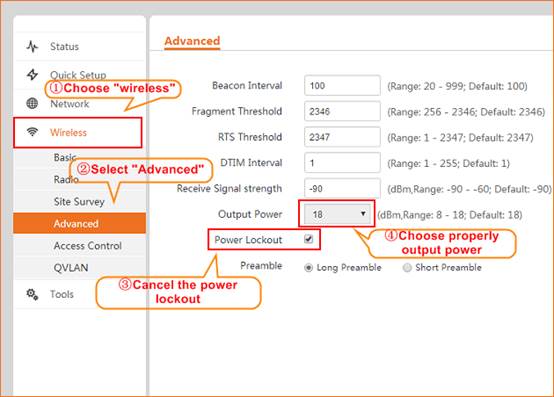
3.4 change the device’s output power:
Select the “Advanced” and uncheck the “power lockout”, then set a custom output power dBm which fits your need.