Model number: M3 Question classification: Function settings
Step 1: Physical connection;
Step 2: PC configuration;
Step 3: Group Modify on AP’s Wireless Settings;
Step 4: Group Modify on Rebooting / Alarm settings.

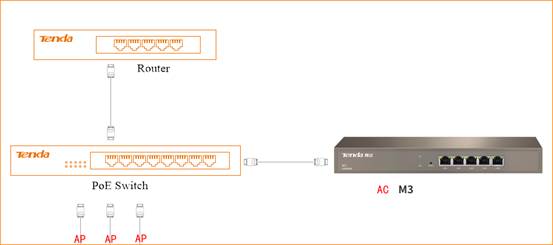
1.1 Connect M3 to the Switch, as the topology shows:

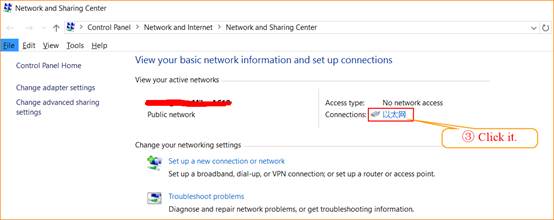
2.1 Right click the computer icon on the down-right corner of desktop, choose “Network and Sharing Center”.

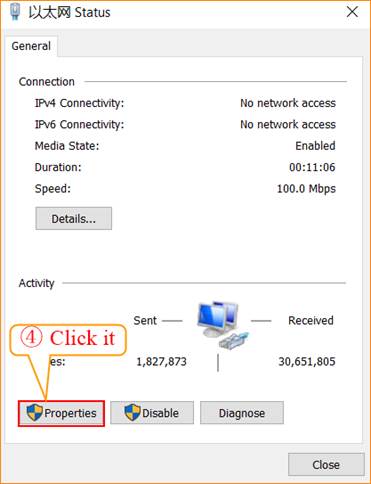
2.2 Choose the network that connect to AC (M3).
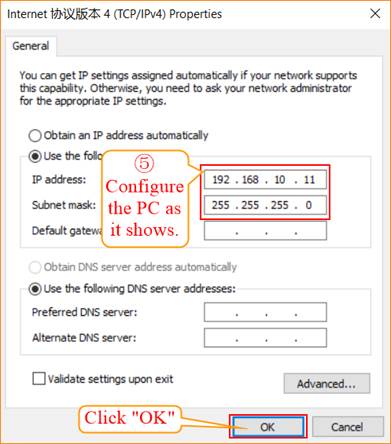
2.3 Click “Properties”, → “Internet Protocol Version 4 (TCP/IPv4)”, → “Use the following IP address” → Configure your PC an IP address as 192.168.10.x (x belongs to 3~254). And don’t forget the subnet mask. Click “OK” to save the configuration.


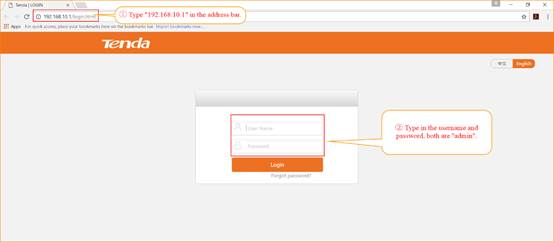
3.1 Login to the UI of M3.
Open a web browser, type 192.168.10.1 in the address bar, Click Enter.
Type the username: admin, and password: admin.
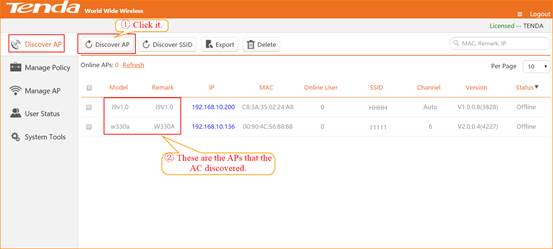
3.2 Discover Aps.
Click “Discover AP” → “Discover AP”, then you can see the Aps that discovered by AC.
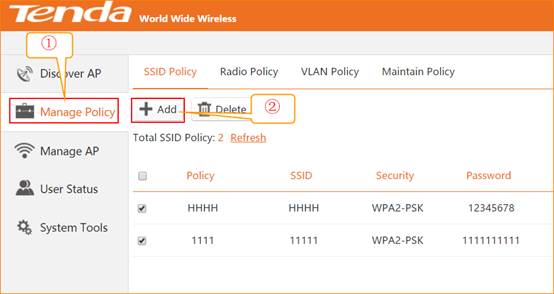
3.3.1 Group Modify on AP’s Wireless Settings (SSID Setting/ Radio Setting/ Vlan Setting).
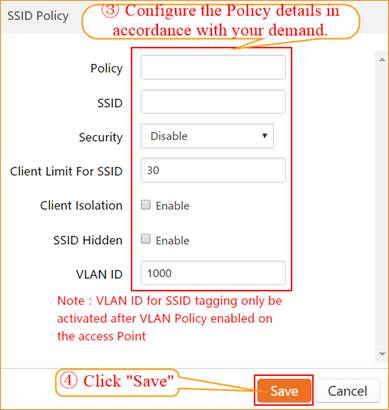
Choose “Modify Policy”, → “Add”, → Configure the settings in accordance with your demand.
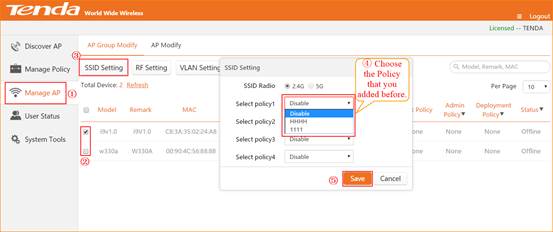
3.3.2 Group Modify on Wireless Settings.
Choose “Manage AP”, → choose the Aps that you want to manager → ”SSID Setting”, → choose the Policy that you added before, → Click Save.

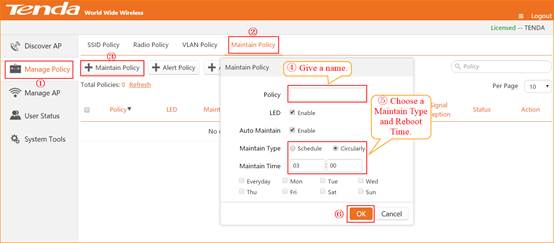
4.1 Rebooting settings
Choose “Manage AP”, → “Maintain Policy”, → Add Maintain Policy → Configure the policy as you want, → Click OK to save it.
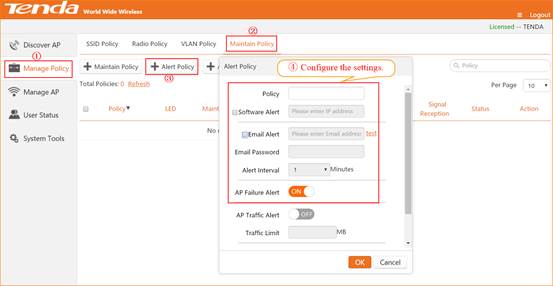
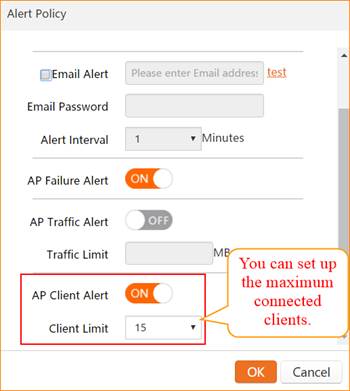
4.2 Alarm Setting
Choose “Manage AP”, → “Maintain Policy”, → Add Alarm Policy → Configure the policy as you want, → Click OK to save it.
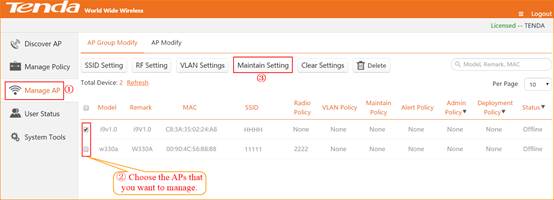
As the above pictures show, you have added policy successfully, but it isn’t being used.
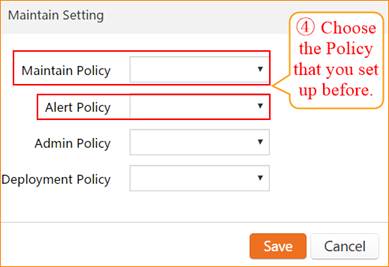
Go to “Manage AP”, → Choose the Aps that you want to manage → “Maintain Setting” → Choose the policy you set up before. → Click Save to apply it.