
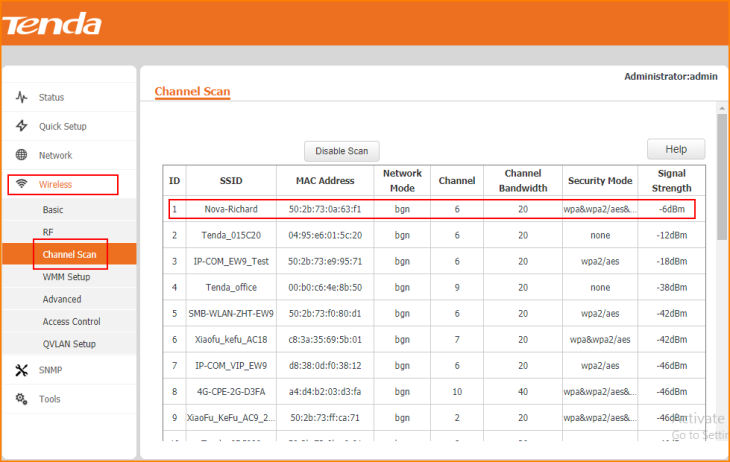
1. Click on “Wireless”, then click “Channel Scan” to see the details of channel around you.
Usage Scenario: Scan the channel around you If you want to change another channel on the “RF” option but you are not sure which channel is appropriate to your situation.
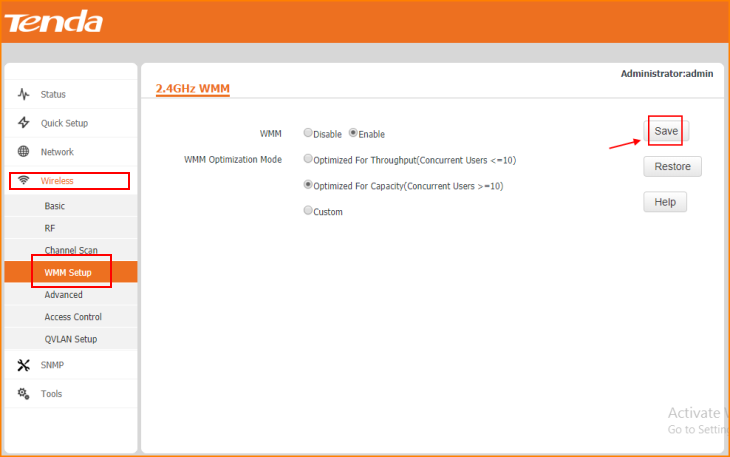
2. Click on “Wireless” and click “WMM Setup”, “Enable” the option is recommended.
3. Click on “Wireless” and click “Access Control” to edit the devices are connected to the W6-S If you want to filter some devices MAC Address.
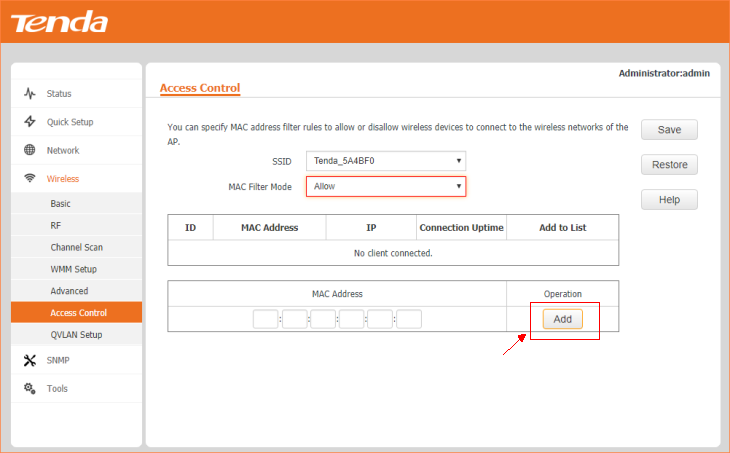
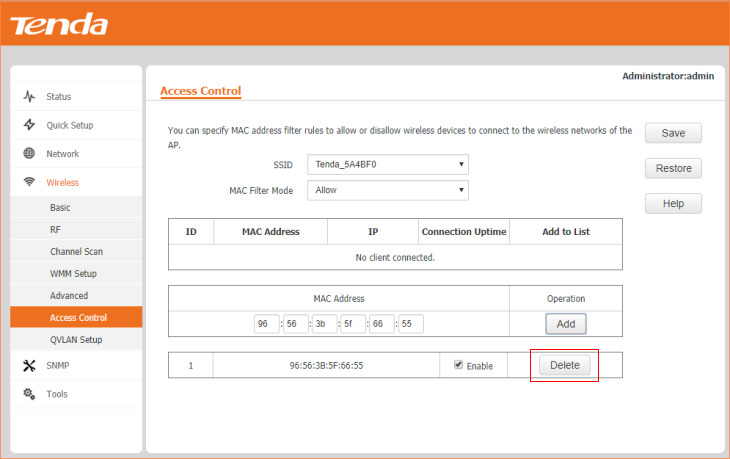
Note: Remember to “Save” the configuration.
4. Click on “Wireless” and click “QVLAN Setup”, then you can configure VLAN for W6-S.
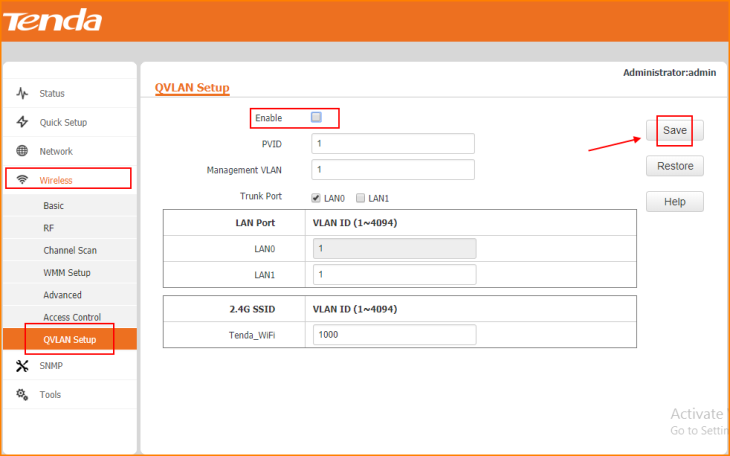
Note: Remember to “Save” the configuration.

