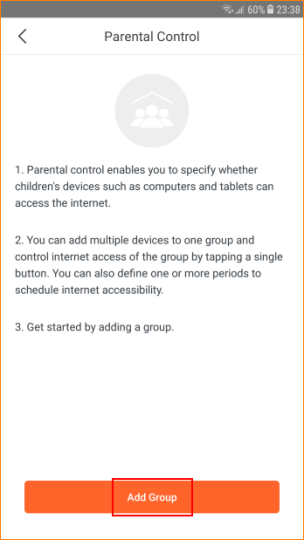
If you want to add multiple devices to one group and define one or more periods to schedule internet accessibility. You can set up Parental Group.
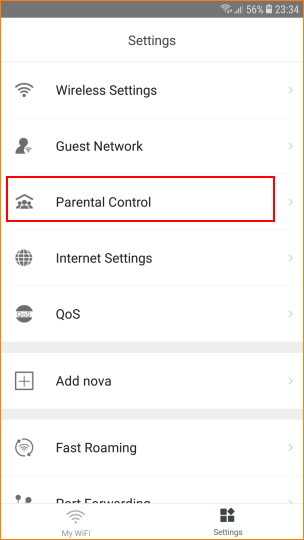
Step 1: Tap “Settings” > “Parental Control”, tap “Add Group”.
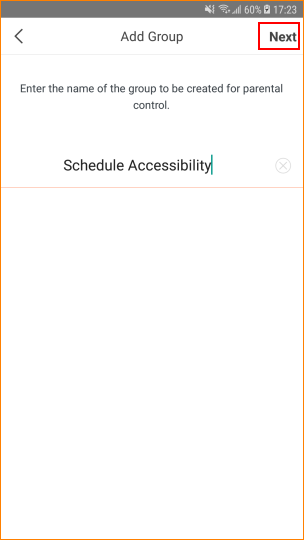
Step 2: Enter the name of the group for parental control. And tap “Next”.
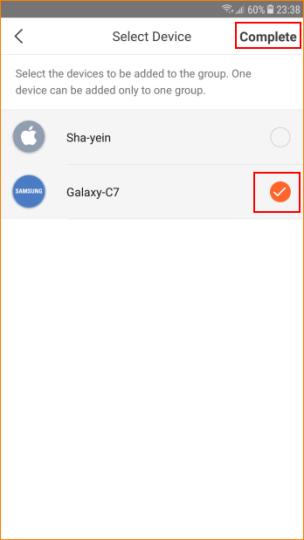
Step 3: Select the device you want to add. Then tap “Complete”
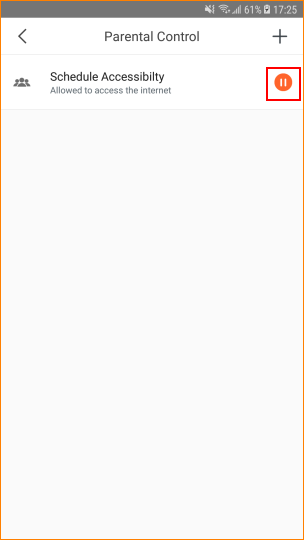
Step 4: Tap the button to change the setting.  means “Allowed to access the internet”,
  means “Disallowed to access theinternet”.
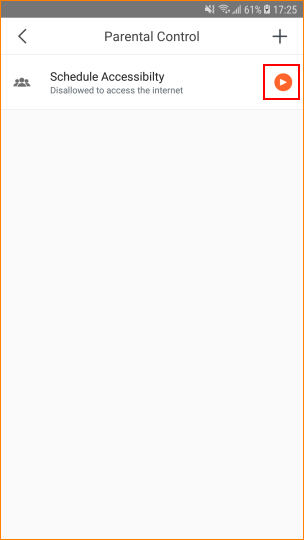
 means “Allowed to access the internet”,
  means “Disallowed to access theinternet”.
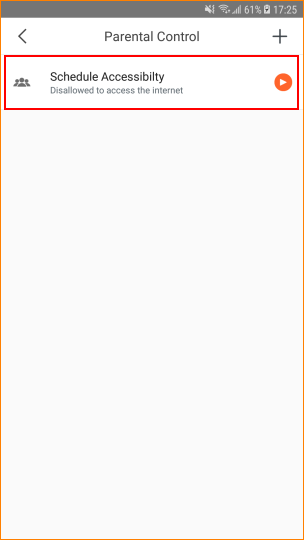
Note: If tap  , all devices in existing group are disallowed to access the internet within the period you set; If tap , all devices in existing group are allowed to access the internet within the period you set.
 , all devices in existing group are disallowed to access the internet within the period you set; If tap , all devices in existing group are allowed to access the internet within the period you set.
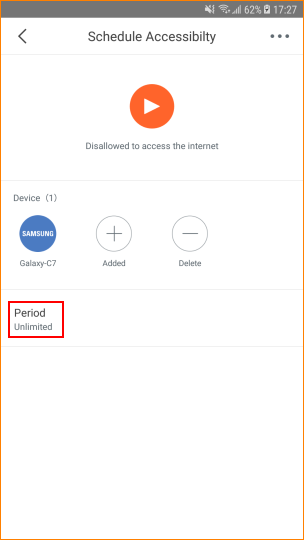
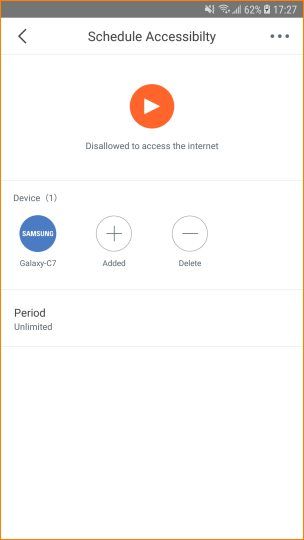
Step 5: Tap the group you have just created to configure more details.
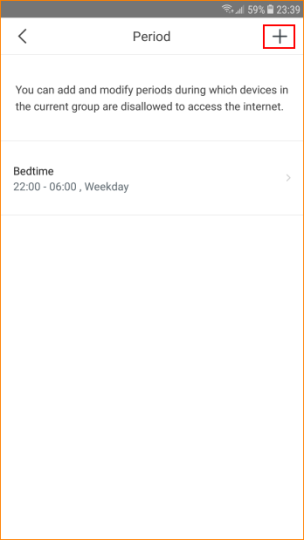
Step 6: Tap “Period”(default is Unlimited)to allow or disallow devices within a certain period.
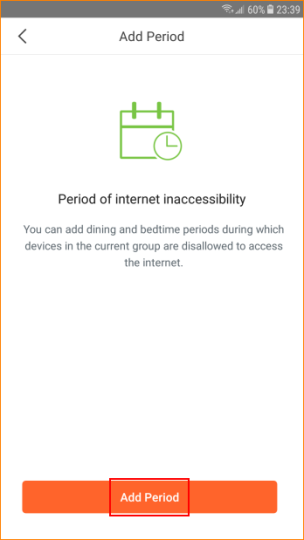
Step 7: Tap “Add Period”.
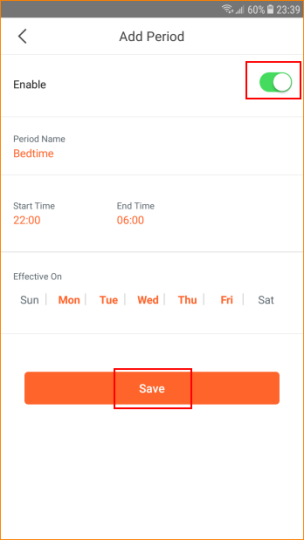
Step 8: Tap “Enable”. Enter “Period Name”, “Start Time”, “End Time”, select the day in “Effective On”. Then tap “Save”.
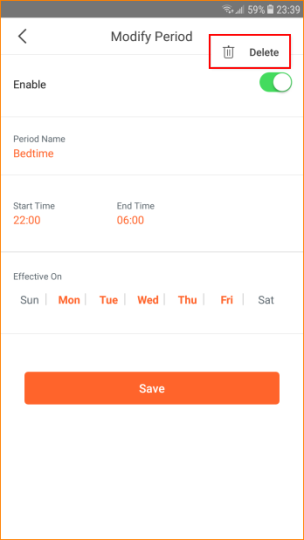
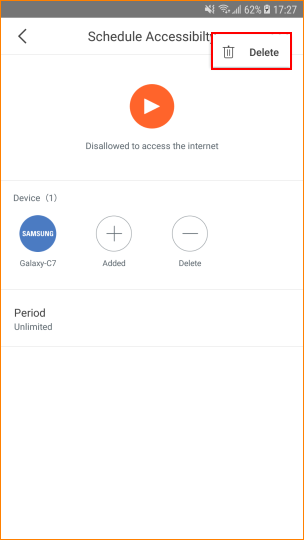
If you want to delete the “Period Group”, tap  on the top right.
 on the top right.
If you want to add or delete devices, tap group you have created, click “Added” or “Delete” in “Device list”.
If you want to delete “MW3 Test” group you have just created, tap on top right to delete.
on top right to delete.
If you want to add another group in Parental Control, tap “+” on top right.